Mistakes to avoid while installing beadboard (and how to fix them)
You know the classic wall panelling with thin vertical lines and little grooves? That's beadboard. It's been around for a long time — think of old Victorian houses — but it's having a moment again in modern homes. While it's simple and stylish, beadboard works everywhere you want a little extra character — bathrooms, hallways, and even ceilings. Going for cottage vibes or just want to spruce up plain walls? Beadboards are the real deal. And the best part? You can get it in wood, MDF, or PVC, so there's an option for every budget and space (even those steamy bathrooms).
Let's be real — beadboard looks like a perfect DIY project. Pre-cut panels? A straightforward installation process? It is easy to believe that you can have a room transformed in a weekend. But here's the truth — installing the beadboard takes more planning than you might expect. Skip the prep work, and you'll end up with gaps, crooked lines, and panels that warp faster than a cheap bookshelf in a steamy bathroom. And nothing will kill that farmhouse vibe you've been going for faster than noticeable seams or uneven edges. Moisture-prone spots? Even worse. Do it right the first time, or you will redo it sooner than you think.
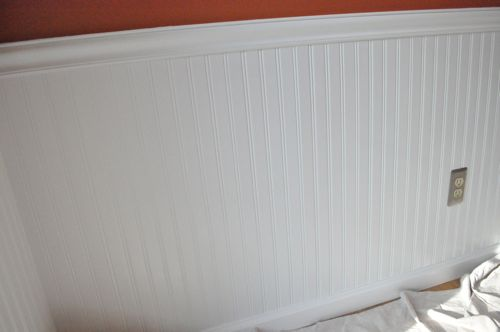
In this guide, we'll break down some of the big mistakes people make with beadboard and, more importantly, how to avoid them (or fix them if it's too late). A little planning now saves a ton of headaches later.
Mistakes To Avoid
While stacking beadboard panels vertically might seem like a time-saver, it's a shortcut you'll regret. Those panels are meant to lock together side by side, not piled up like pancakes. Stack them wrong and you'll end up with a bunch of gaps between them or awkward seams that scream "DIY oops" instead of a smooth, pro-grade look. Stick to horizontal runs (or follow the manufacturer's instructions) and you'll keep those lines flowing as they should.
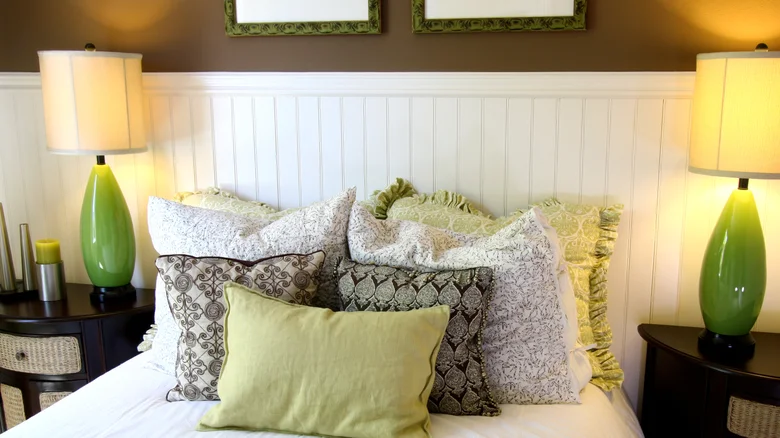
Listen, we've all been there — using caulk to fill gaps between beadboard panels seems like an easy fix. But here's the truth: if the gap's too big, the caulk will crack, turn yellow, or shrink, making the problem even more apparent. Thus, instead of relying on this temporary cover-up, take your time to measure carefully and make the proper angle cuts. Or better yet, use corner trims to hide the imperfections like a pro. Your future self will thank you when those corners look crisp years later.
Here's another rookie mistake you'll want to avoid — installing beadboard straight out of the package. Those panels need time to "get used” to your room's climate, or they will start warping and gapping on you later. Just like you wouldn't wear a winter coat in summer, a new beadboard needs at least 48 hours lying flat on the floor to acclimate before installation. And don’t skimp on the adhesive or fasteners either — especially in steamy bathrooms or kitchens where moisture loves to mess with your hard work. A little patience now will save you a ton of crooked panels later.
How to Fix Mistakes if They Do Occur
Stacked your beadboard and now the seams are staring back at you? Here's how to fix it like a pro: First, grab some sandpaper and knock out any uneven spots where the panel meets. Then, fill those gaps with wood filler (the good stuff — not the cheap crumbly kind). Don't forget to smooth it with a putty knife, let it dry completely, then sand it out again until it feels smooth. Finish with a fresh coat of paint, and voilà — these problem seams will practically disappear.
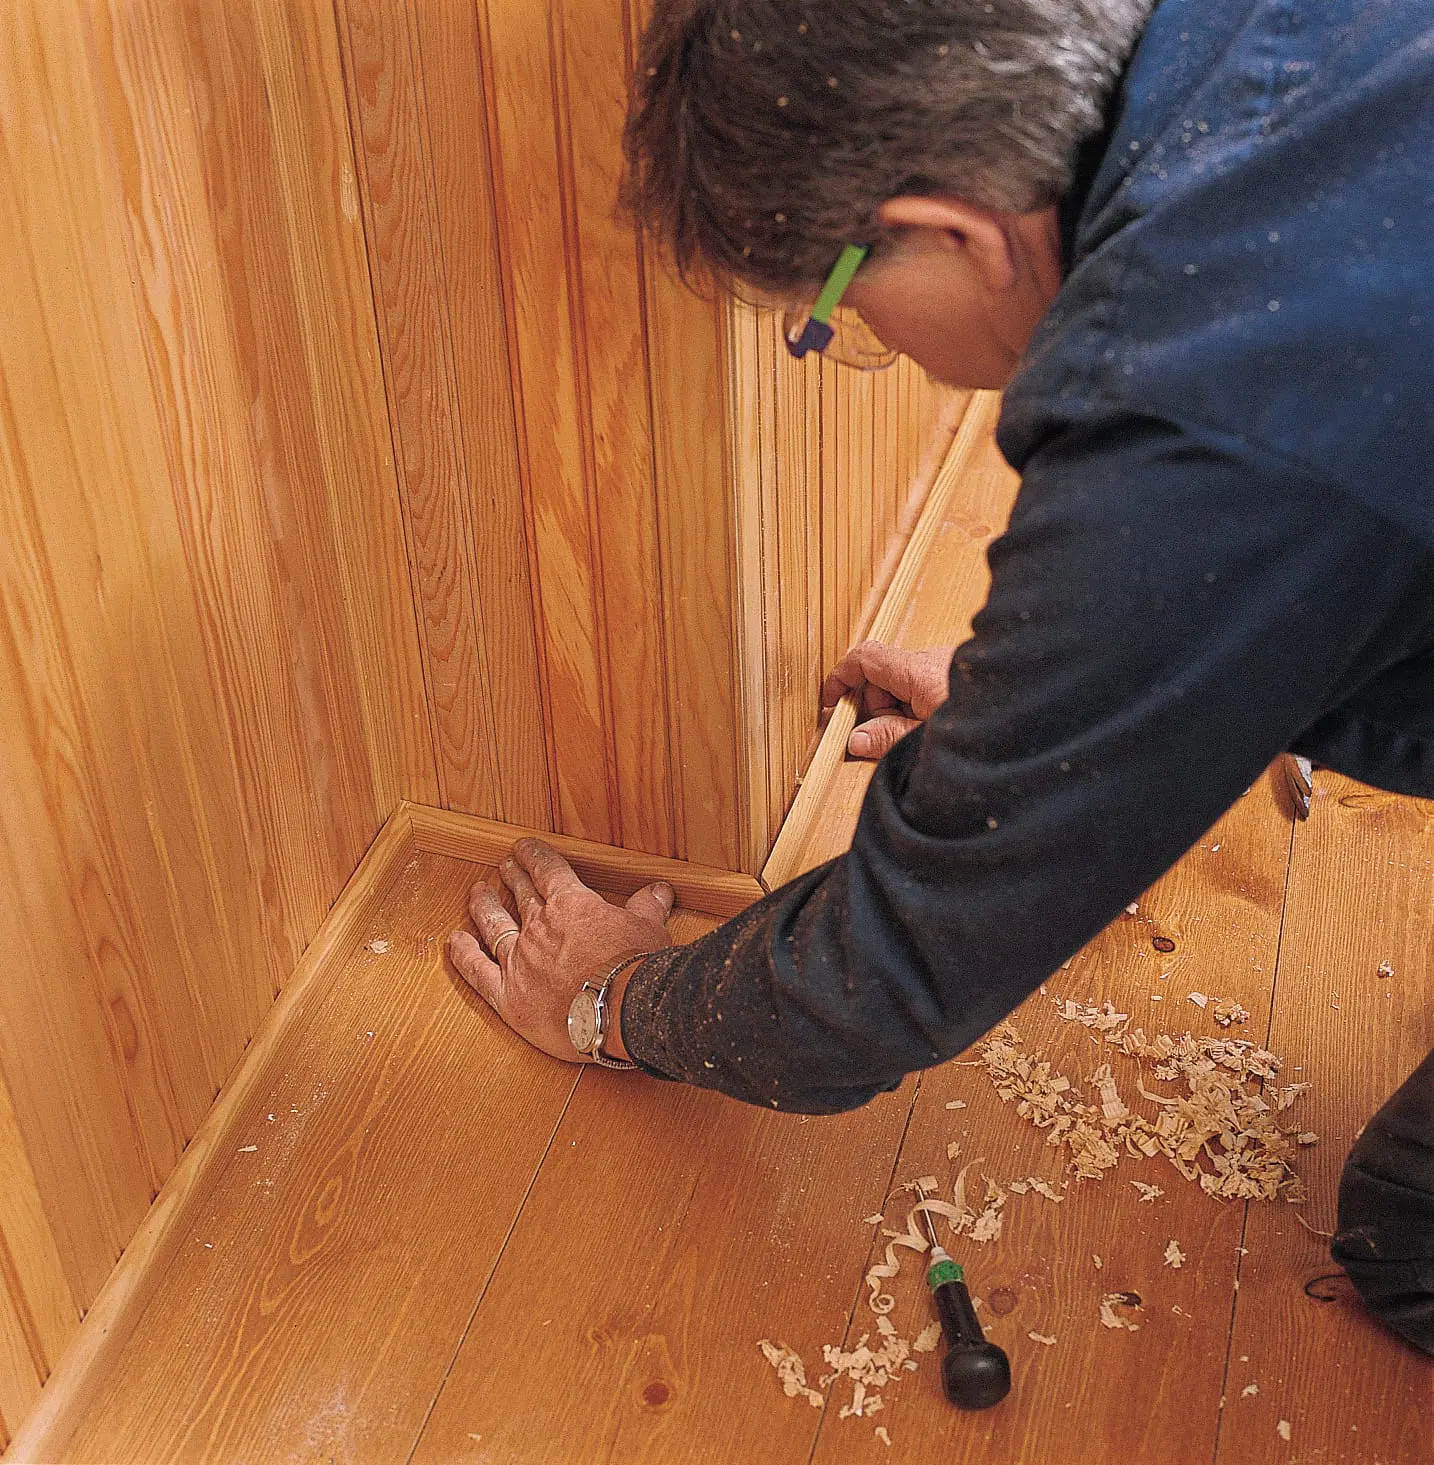
Got a big gap in your corner? Don't sweat it - there are several ways to fix it. First, slide in some wood shims or dowels, then caulk over them for a solid fill. You can also say "screw it" to hiding and own the gap with some stylish corner trim instead (it looks like you meant to do it that way). Remember to measure your trim cuts twice, or you'll trade one problem for another.
Warped beadboard — the worst. But don't panic, you can usually fix that. If it's awful, carefully pull the panel off and lay it flat somewhere indoors with some heavy books (or whatever you've got) on top to flatten it out. Leave it for a day or two to let it acclimate and dry. For the panels, which are starting to buckle but still attached, grab your nail gun and some strong adhesive and work from the middle outward to stick them down properly. Remember to go slow — it's like convincing a stubborn piece of wood to behave.